Phase 1: Discover & Define Solution
Steps:
XD or Figma Prototype of game
Creating a mockup of your game in XD or Figma should allow you to visualize your game and its mechanics as well as show it to others.
While creating the prototype keep in mind that you will be coding the features you are designing. There is always room to scale up your game while coding but it is best to prototype a simpler game.
- Start screen
- Screen for each game movement (what happens when you press an arrow key)
- Show the objective and enemy
- End screen
Design Document
Include these criteria in your design document:
- Premise/Story: How would you explain the main dramatic concept driving the game's action?
- Objective: What is the main goal the player is trying to achieve in the game?
- Gameplay/Controls: How does the user manipulate the character? What does the structure and setting of the game look like?
Video Game Proposal Presentation
Create a slide presentation that summarizes your team’s proposed video game concept. The presentation is an opportunity for other teams to ask questions and provide feedback to help your team clarify and improve its proposed game concept.
Your team's presentation should include the following (in this order):
- Project Team: game's working title, team name, team members & their roles
- Target Player Persona: Describe the persona for your game, including the targeted gaming motivations and player experience goals.
- Premise: Briefly explain the game's premise — as well as its setting (game world), characters (player and non-player), and story (if applicable). Be sure to include concept sketches of the game world and characters.
- Objective: Briefly explain the objectives of the game — as well as the conflicts that players will face. If helpful, include concept sketches.
- Gameplay: Briefly explain how the game is played — as well as key gameplay features.
- Prototype: Share your Figma or XD prototype
- Questions:
4 Tips for Giving Feedback
Keep the design goals in mind when reviewing work.
Ask questions to better understand the design and to spark thinking about possible opportunities for improvements.
Make sure feedback is objective and specific.
Be sure to identify what works well — as well as what could be improved.
4 Tips for Receiving Feedback
Be prepared to answer questions and to explain your design thinking.
Listen — keep an open mind, don't take feedback personally, and don't get defensive.
Ask your own questions to clarify feedback or to get feedback on specific items.
Take notes, so you can follow up on feedback later.
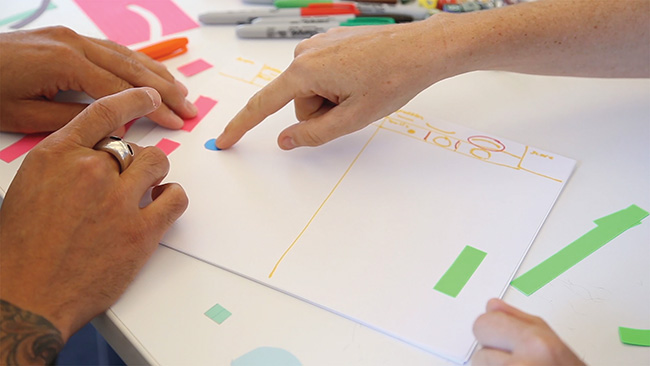
Paper Prototype

Your team will now use its game design document to create a paper prototype of your game that to be playtested. Even though a paper prototype cannot simulate all the aspects of a video game, you will hopefully discover that creating and playtesting a paper prototype should help:
- Clarify your team's conceptual model of the game
- Verify which game design elements are working well or need improvement
The paper prototype should include (as separate paper parts):
- game world (game background)
- user interface information displayed to the player (such as: score, status, health etc.)
- player's character
- non-player characters (opponents, allies, etc.)
- key game objects (resources, obstacles, etc.)
Focus on prototyping the core gameplay — at this point, don't worry about prototyping a title screen, menu screen, etc.
Characters or other objects that are movable can be attached to sticks to make it easier to use them. Even if game objects won't move in the real game, it is helpful to create them as separate parts — rather than drawing them on the game world — because it allows you to easily:
- remove objects (to represent them being collected or used)
- replace objects (to represent them changing or animating)
- change the locations and/or quantity of objects in the game (to see how it affects the gameplay)
Animations
- You can "animate" characters or other objects by creating multiple versions of them (representing different actions or animation frames).
- If helpful, you can also animate user interface elements. For example, a health bar could be animated.
Playtesting
Now your team will use its paper prototype to playtest your game. You'll playtest your paper prototype in two stages:
- Internal Playtesting
- External Playtesting
After playtesting, your team will update its game design document to reflect any necessary additions or changes to the game's design.
Playtesting Steps
- Playtest your paper prototype internally within your team to clarify and refine your game design. If necessary, revise your game design document and/or paper prototype.
- Have one person on your team act as the player. The player can perform any actions allowed by the procedures of the game.
- The rest of your team will act as the "computer" by responding to the player's actions and controlling the other characters and game objects.
- Focus on making sure the core gameplay works, makes sense, seems fun, and matches your targeted design goals (gaming motivations and player experience goals).
- Recruit external playtesters by partnering with another team
- The game moderator should briefly:
- identify the game's targeted gaming motivations and player experience goal(s)
- explain the game's premise and objective
- describe and demonstrate the basic actions that the player can perform during gameplay (optional: it might help to provide a "cheat sheet" that the player can refer to)
- GM should observe and record notes during playtesting (such as: what parts of the gameplay seem to work well, what issues occurred, etc.).
- The rest of the design team will act as the "computer" during playtestesting while one person from the external team will act as the player. The rest of the external team will observe the playtesting.
- Both during and after playtesting, the external team can ask questions and provide feedback.
- The game moderator should briefly:
Minimum Viable Product
Define your team's Minimum Viable Product:
Many designers refer to this process of estimating the scope for an initial product as defining the Minimum Viable Product (MVP). MVP does not mean providing the lowest possible value or providing an incomplete product. Instead, it means defining the minimum set (i.e., the core set) of functions and features for a product that still provides value to your target users.
In the work world if your target users find your MVP to be viable, then you can add other functions and features (to provide even more value) in the next version of the product. On the other hand, if your target users do not find your MVP to be viable, then you have an opportunity to improve it before you've invested too much time and resources.
- Identify and prioritize the core set of features in your game design required to create an initial version
- List or describe the MVP at the end of your game design document.